
Homemade yogurt is one of the simplest fermentation around. Making yogurt at home is cheaper than buying it from the store, and does not require much work. Homemade yogurt can also be customized, in terms of tanginess and thickness, and is also healthier because it does not contain additional ingredients.
FERMENTATION
Yogurt fermentation is simple and quick, and only takes a few steps.
- Heating
- Cooling
- Inoculating the bacteria cultures
- Fermentation
1. Heating. Heating the milk is essential for preventing contamination and interference of any microbes. Although, the risk of bacterial contamination is significantly lower nowadays, it is still good practice to bring it to a high temperature. 82°C is the temperature required, as bacteria starts dying after about 75°C.
2. Cooling. Once the milk is heated, it must be cooled to 47-52°C, as it is the perfect environment for the bacteria cultures. Around 43°C is the optimal temperature for fermentation of yogurt. Quick tip: Use an ice bath for quicker cooling.
3. Inoculating the cultures. This step is simple mixing the starter (leftover yogurt) with the warm milk. This introduces the bacteria to the milk, and starts fermentation.
4. Fermentation. The amount of time you allow the yogurt to ferment will drastically change its acidity and thickness. It can take anywhere from 6-24 hours for the yogurt to set. I usually let mine go for 12-17 hours because I usually don’t need acidic yogurt.
| 6-8 Hours | 9-12 Hours | 13-18 Hours | 19-24 Hours |
|---|---|---|---|
| milky flavour, soft curd, milky whey | balanced flavour, medium curd, cloudy whey | slightly acidic flavour, medium curd, clear whey | acidic flavour, firm curd, clear whey |
*The addition of skim milk powder results in a cleaner separation of whey and curds, so you don’t have to strain the whey.
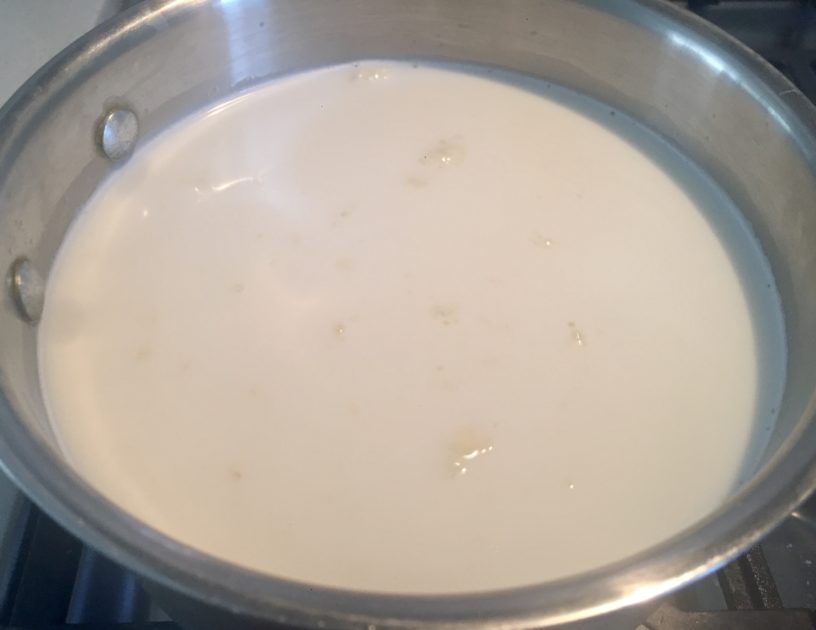
Heat milk with the milk powder over medium-high heat until it reaches 82°C.
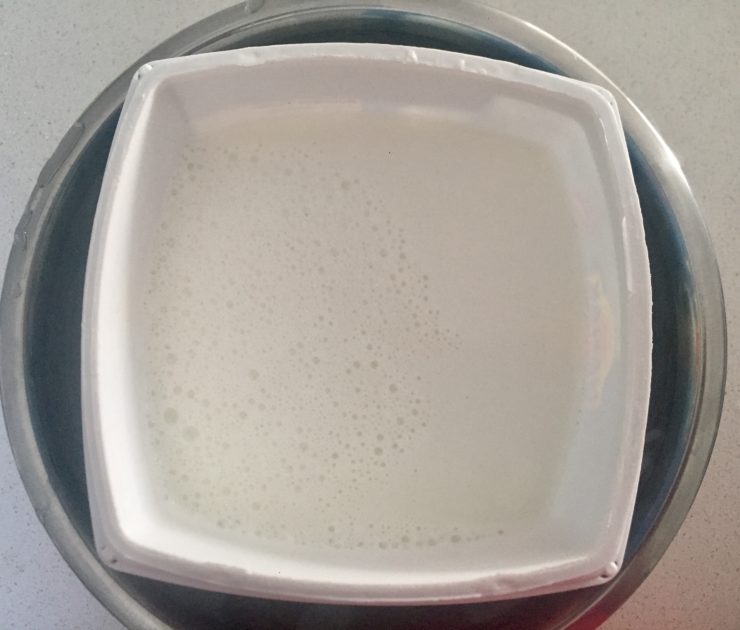
Cool it down to 47-50°C, using an ice bath for quicker cooling.

Stir in the yogurt, and transfer to a warm place for up to 24 hours. Refrigerate for a few hours before using.

Enjoy!

- 8 cups full-fat milk
- 1/2 cup skim milk powder
- 1/4 cup plain yogurt
-
Stir the milk powder into the milk in a medium saucepot.
-
Heat the milk over medium-high heat until it reaches 82°C, stirring frequently.
-
Pour the milk into a container.
-
Cool the milk to 47-52°C, using an ice bath.
-
Stir in the yogurt, and place in a warm place for 6-24 hours.
-
Refrigerate before using.
-
Enjoy!